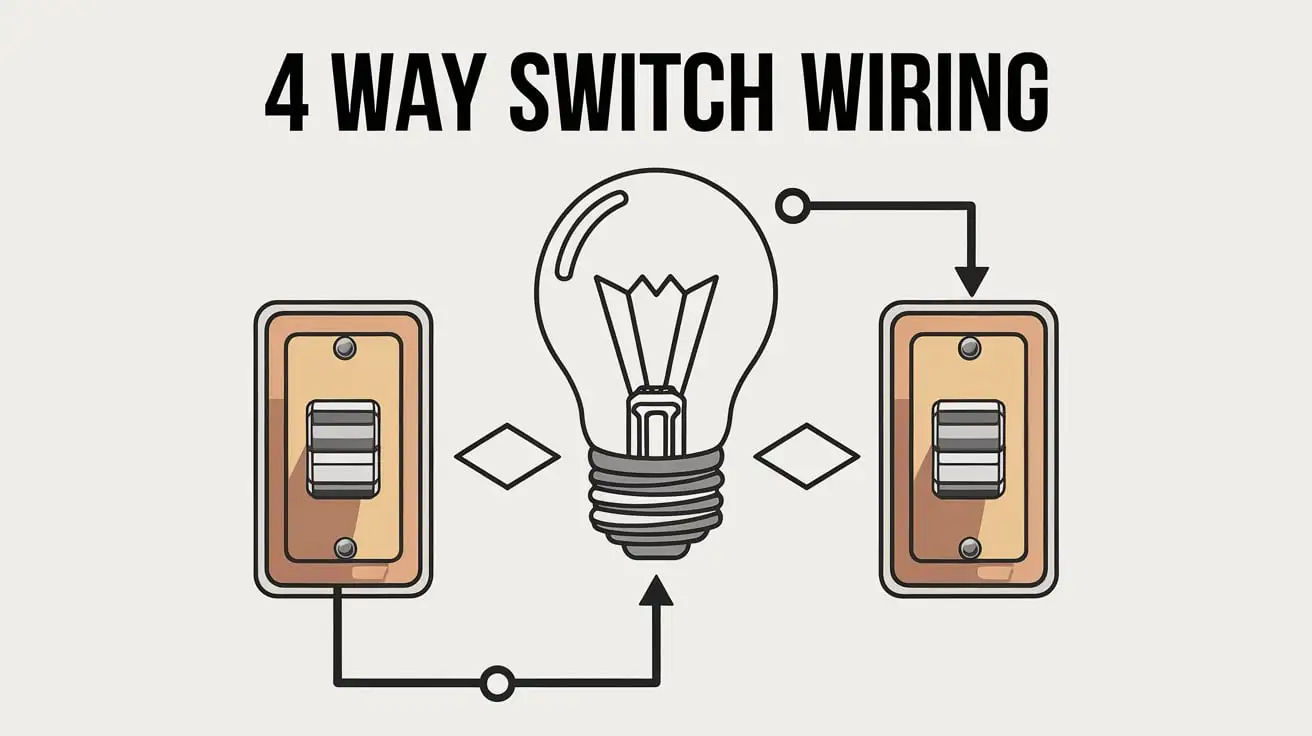
If you’re looking to control lighting from multiple locations, a 4-way switch is essential in your wiring setup. This guide will provide you with everything you need to know about wiring a 4-way switch, including diagrams, installation tips, and troubleshooting common issues.
Content
Understanding 4 Way Switches
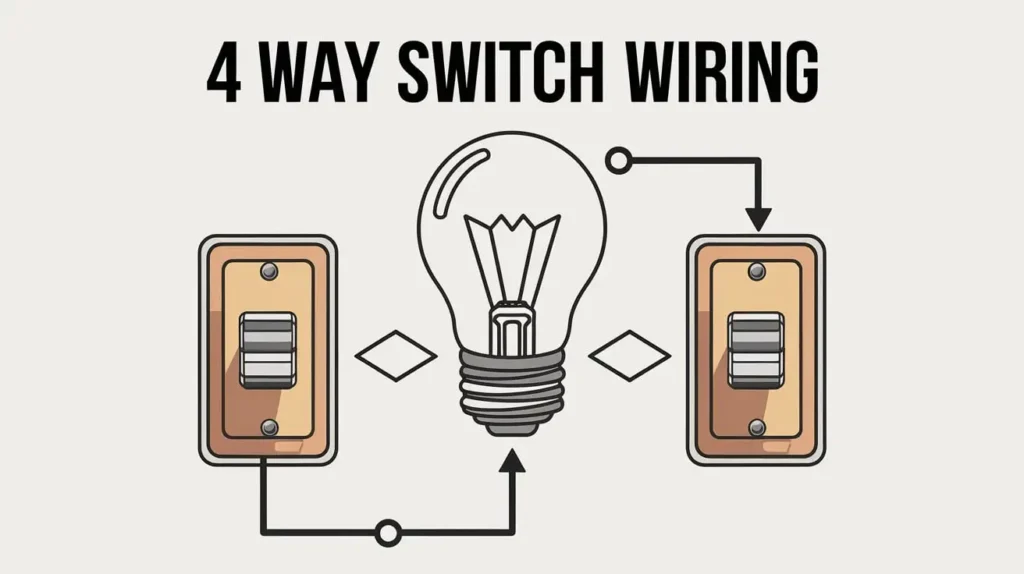
A 4 way switch wiring serves a critical role in electrical systems by allowing the control of a light fixture from three or more locations. This switch complements two 3-way switches, which manage lighting from two distinct points. In spacious environments such as hallways or large rooms, employing a 4-way switch configuration enhances convenience and usability.
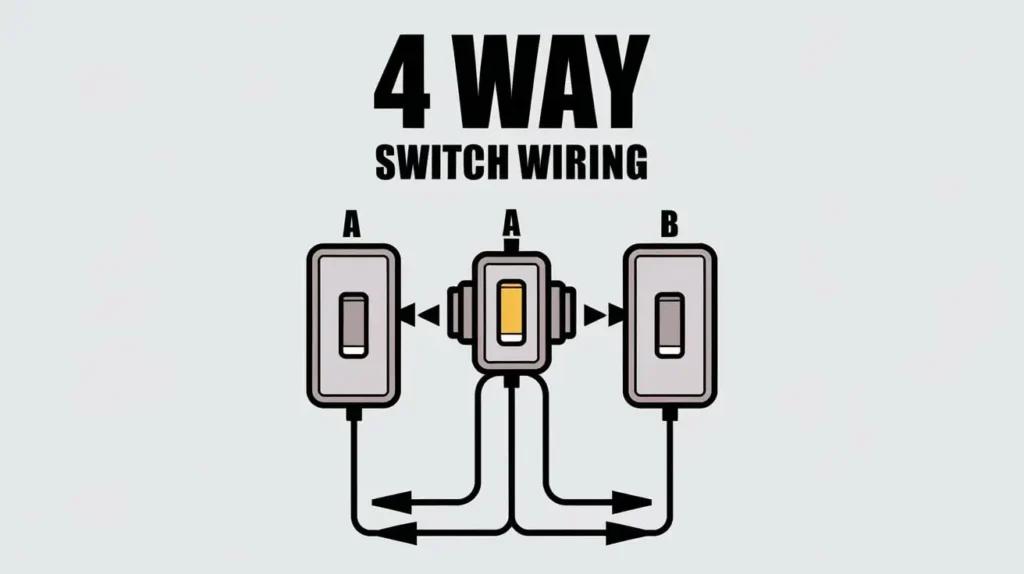
When should you consider utilizing a 4 way switch wiring? Such a switch becomes invaluable in scenarios where multiple entry points require light control, offering seamless operation for occupants. For instance, in a lengthy corridor, placing one switch at either end, along with additional switches in the middle, significantly improves access to lighting.
4 Way Switch Wiring Diagram
A clear understanding of the wiring diagram for a 4 way switch wiring is crucial for effective installation. Typically, a 4-way switch wiring diagram encompasses:
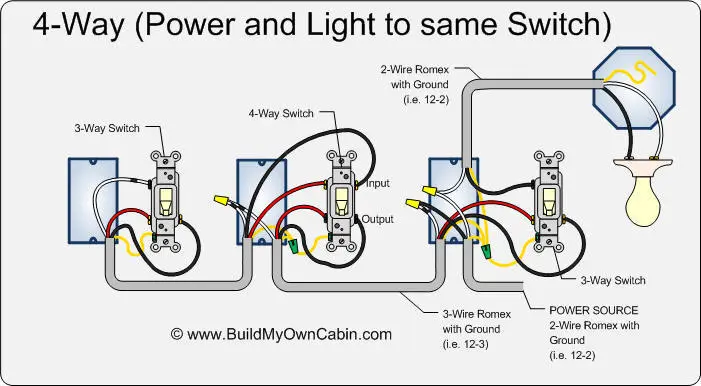
- Two 3-way switches (one positioned at each end).
- A 4-way switch situated centrally.
- Electrical wiring that interconnects the switches and the light fixture.
Common Wiring Configurations
The wiring layout may vary depending on whether the power source is located at the light fixture or at one of the switches.
| Configuration | Power Source at Switch | Power Source at Fixture |
|---|---|---|
| Wiring Method | The common terminal of the first 3-way switch connects directly to the power source. | The power is directed straight to the light fixture first. |
| Traveler Wires | Connected between the two 3-way switches and the 4-way switch. | Wires extend from the fixture to the 4-way switch and then to the 3-way switches. |
How to 4 way switch wiring
Step-by-Step Instructions
- Gather Necessary Tools and Materials:
- 4 way switch wiring
- Two 3-way switches
- Electrical wire (commonly Romex)
- Wire strippers, pliers, and a screwdriver
- Voltage tester
- Turn Off Power:
Before starting, ensure that power is turned off at the circuit breaker to avoid any electrical hazards. - Connect the Switches:
- For the first 3-way switch:
- Link the common terminal to the power source.
- Attach traveler wires to the designated traveler terminals.
- For the 4-way switch:
- Connect traveler wires from both 3-way switches to the 4-way switch.
- For the second 3-way switch:
- Connect traveler wires leading to the light fixture.
- For the first 3-way switch:
- Test the Wiring:
- After making all connections, restore power and verify that all switches function as intended.
Safety Precautions
Working with electrical systems requires caution. Always confirm that power is off before initiating any installation, and if uncertainties arise, consult a licensed electrician.
4 Way Switch Installation
Preparing for Installation
Planning is critical before embarking on the installation process. Identify where to place your switches, considering the distances to both the light fixture and one another for optimal performance.
Installation Process
- Installing the 3-Way Switches: Follow the wiring connection guidelines outlined previously.
- Installing the 4-Way Switch: Position it appropriately within your configuration.
- Ensuring Secure Connections: Confirm that all wires are tightly secured to prevent connectivity issues.
Tips for a Successful Installation
- Label wires when necessary to reduce confusion during the installation process.
- Employ colored electrical tape to identify traveler wires, particularly when using conduit systems.
Troubleshooting 4 way switch wiring
Common Issues and Solutions
If lighting malfunctions occur, refer to these troubleshooting strategies:
| Issue | Possible Cause | Solution |
|---|---|---|
| Lights do not illuminate | Incorrect wiring connections | Review all wire connections for accuracy. |
| Lights flicker | Loose wire connections | Inspect and secure all wire connections. |
| One switch fails to function | Faulty switch or damaged wiring | Replace the malfunctioning switch or repair wiring. |
4 Way Switch vs 3 Way Switch
Comparative Analysis
Differentiating between 4-way and 3-way switches is essential for optimizing lighting control.
| Aspect | 3 Way Switch | 4 Way Switch |
|---|---|---|
| Functionality | Controls a light from two locations | Manages a light from three or more locations |
| Wiring | Requires two wires plus a common terminal | Needs four connections (two travelers) |
Conclusion
In summary, comprehending and accurately executing the wiring of a 4-way switch is vital for anyone seeking to enhance their home lighting setup. With the appropriate materials and meticulous attention to detail, you can effortlessly manage your lights from multiple locations, significantly improving convenience and functionality.

Elena Mohr is a dedicated home blogger who has been blogging for over six years. She covers everything home related. Elena also loves writing posts about her travels to Europe with her husband and two children.


![Why Spray Foam Insulation Vaughan Homes Need: An Expert Guide [2025] Spray Foam Insulation](https://starthomeimprovement.com/wp-content/uploads/2025/09/image-150x150.png)
