A well-organized garage can make life significantly easier, whether you’re storing tools, seasonal decorations, or sporting equipment. If you’re tired of the clutter and looking for DIY garage shelves ideas that are affordable, sturdy, and customizable, you’ve come to the right place. With just a few tools and some creativity, you can create storage solutions that transform your garage into a neat and functional space.
Content
Benefits of Building Your Own DIY Garage Shelves Ideas
Creating your own shelves offers numerous advantages:
- Customizable designs: Tailor the shelves to fit your space and storage needs.
- Cost-effectiveness: DIY shelves are often cheaper than store-bought options.
- Sturdiness: With the right materials, your shelves can support heavy items like tools and bins.
- Satisfaction: There’s nothing like the pride of completing a project yourself.
Tools and Materials Needed
Before diving into your project, gather the following tools and materials:
- Measuring tape
- Circular saw or handsaw
- Drill and screws
- Level
- 2×4 lumber or plywood
- Brackets (if opting for wall-mounted shelves)
- Sandpaper and wood stain (optional for finishing)
Top DIY Garage Shelves Ideas
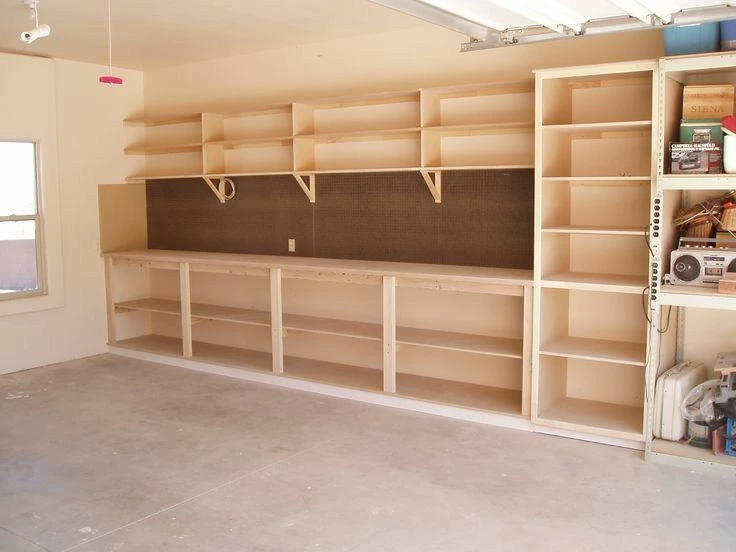
1. Freestanding Shelves
Freestanding shelves are perfect if you’re renting or prefer non-permanent solutions. Here’s how to build them:
- Cut 2x4s to size for the frame and legs.
- Assemble a rectangular base and attach vertical supports at each corner.
- Add horizontal supports to stabilize the structure.
- Lay plywood on the frames for shelf surfaces.
- Sand and stain the wood for a polished finish (optional).
These shelves are not only easy to move but also highly versatile. You can add more tiers later as your storage needs grow.
2. Wall-Mounted Shelves
Wall-mounted dIY garage shelves ideas are an excellent option if you’re looking to save floor space. Here’s how to get started:
- Locate studs in your garage walls using a stud finder.
- Secure brackets to the studs with screws.
- Cut plywood or planks to size and place them on the brackets.
- Double-check alignment using a level to ensure the shelves are straight.
This method keeps your garage floor clear while providing ample storage for lighter items like paint cans and small boxes.
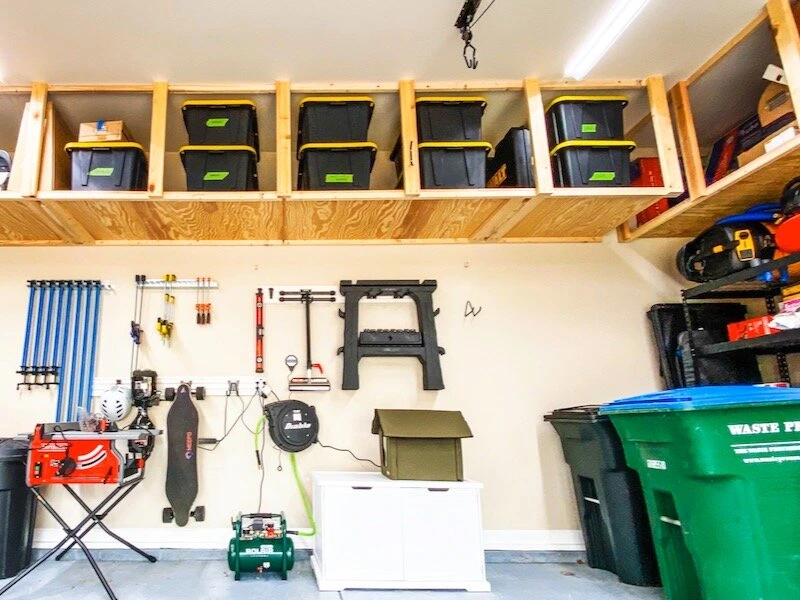
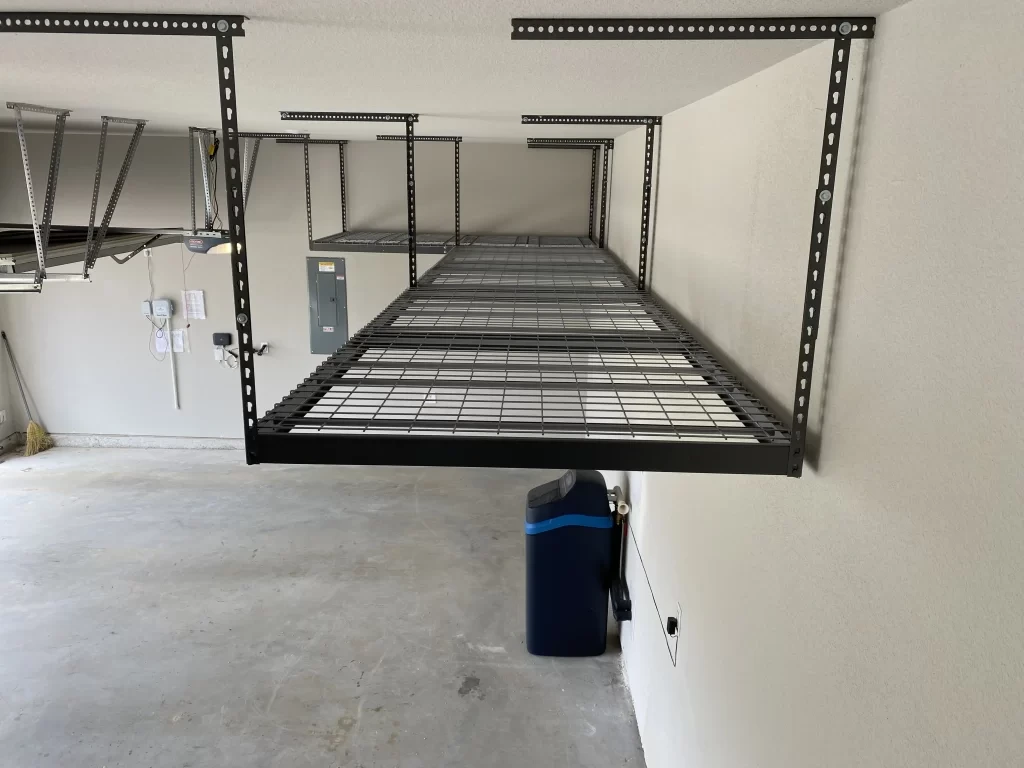
3. Overhead Storage
Maximize unused ceiling space with overhead storage racks. These are ideal for seasonal items like holiday decorations or camping gear. Steps include:
- Measure your ceiling height and plan the dimensions of your racks.
- Secure metal brackets or wooden frames to the ceiling joists.
- Attach sturdy plywood or metal mesh for the rack surface.
Ensure that your overhead shelves are properly anchored to handle the weight of stored items safely.
Step-by-Step Guide to Build Customizable Garage Shelves
Step 1: Plan Your Design
Sketch your garage layout and decide where the shelves will go. Consider the height and depth of the shelves to accommodate various items. For instance, a depth of 24 inches is ideal for large storage bins.
Step 2: Cut and Prepare Materials
Use a saw to cut your wood to the required dimensions. Sand down rough edges to avoid splinters. If you’re painting or staining the wood, do so before assembly to save time.
Step 3: Assemble the Frame
Start by creating the frame for your shelves. Use screws to join the pieces securely. A rectangular frame with diagonal supports adds extra stability.
Step 4: Attach Shelves
Place the cut plywood or planks onto the frames. Secure them with screws to prevent shifting. For wall-mounted designs, ensure the brackets are tightly fixed.
Step 5: Test for Stability
Once assembled, test your shelves by placing heavy items on them. Make adjustments as needed to ensure they’re sturdy and level.
Read more: Replace Your Garage Door
Pro Tips for Success
- Use weather-resistant materials if your garage is prone to moisture.
- Label shelves to easily locate items.
- Add hooks or pegs for extra storage options, like hanging tools or bicycles.
Conclusion
DIY garage shelving is an excellent way to enhance your garage’s functionality while saving money. Whether you opt for freestanding shelves, wall-mounted shelves, or overhead racks, the possibilities are endless. These ideas are not only practical but also adaptable to different spaces and storage needs.

Elena Mohr is a dedicated home blogger who has been blogging for over six years. She covers everything home related. Elena also loves writing posts about her travels to Europe with her husband and two children.
