Are you wondering how to install a garbage disposal? In this guide, we’ll provide you with all the steps and tips you need to tackle a successful garbage disposal installation. Whether you choose a DIY garbage disposal installation or hire a professional garbage disposals installation service, this article covers everything from the tools you’ll need to common mistakes to avoid.
Content
Introduction to Garbage Disposal Installation
A properly installed garbage disposal unit can significantly enhance your kitchen’s functionality. It makes waste management easier, reduces food scraps in landfills, and helps keep your sink clean and odor-free. While some homeowners prefer a DIY garbage disposal installation, others may feel more comfortable hiring professional garbage disposal installation services to handle more complex projects, especially those involving plumbing or electrical wiring.
Choosing between a DIY or professional route depends on the complexity of the job and your familiarity with the installation process.
Essential Tools and Materials for Installation
For an effective kitchen sink disposal installation, having the right tools and materials at your disposal is crucial. A well-prepared installation ensures everything is done efficiently and with minimal frustration. Below is a table detailing the tools and materials required:
| Tools | Materials |
| Adjustable wrench | Garbage disposal unit |
| Screwdrivers (flathead and Phillips) | Pipe sealant |
| Plumber’s putty | Discharge tube |
| Pliers | Mounting ring |
| Electrical tape | Power cord (if needed) |
Having these essentials ready before starting the under sink disposal installation saves time and ensures a smoother process.
A Step-by-Step Guide to DIY Garbage Disposal Installation
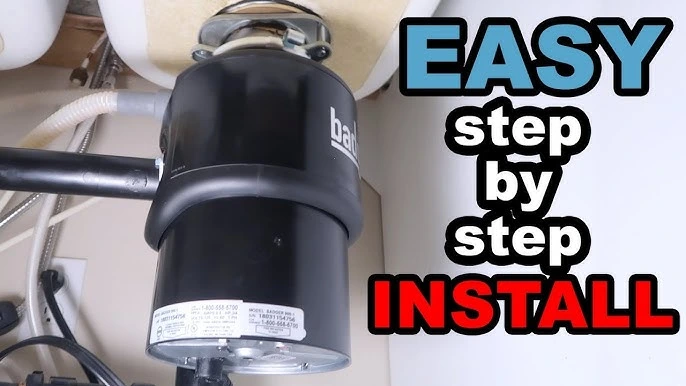
Step 1: Power Down and Prepare the Sink
Safety should always be your top priority. Begin by turning off the electrical supply to the sink area. If you’re replacing an old disposal, remove it by disconnecting the power and unscrewing the mounting bracket. This step ensures you can work without the risk of electrical shock.
Step 2: Install the Mounting Assembly
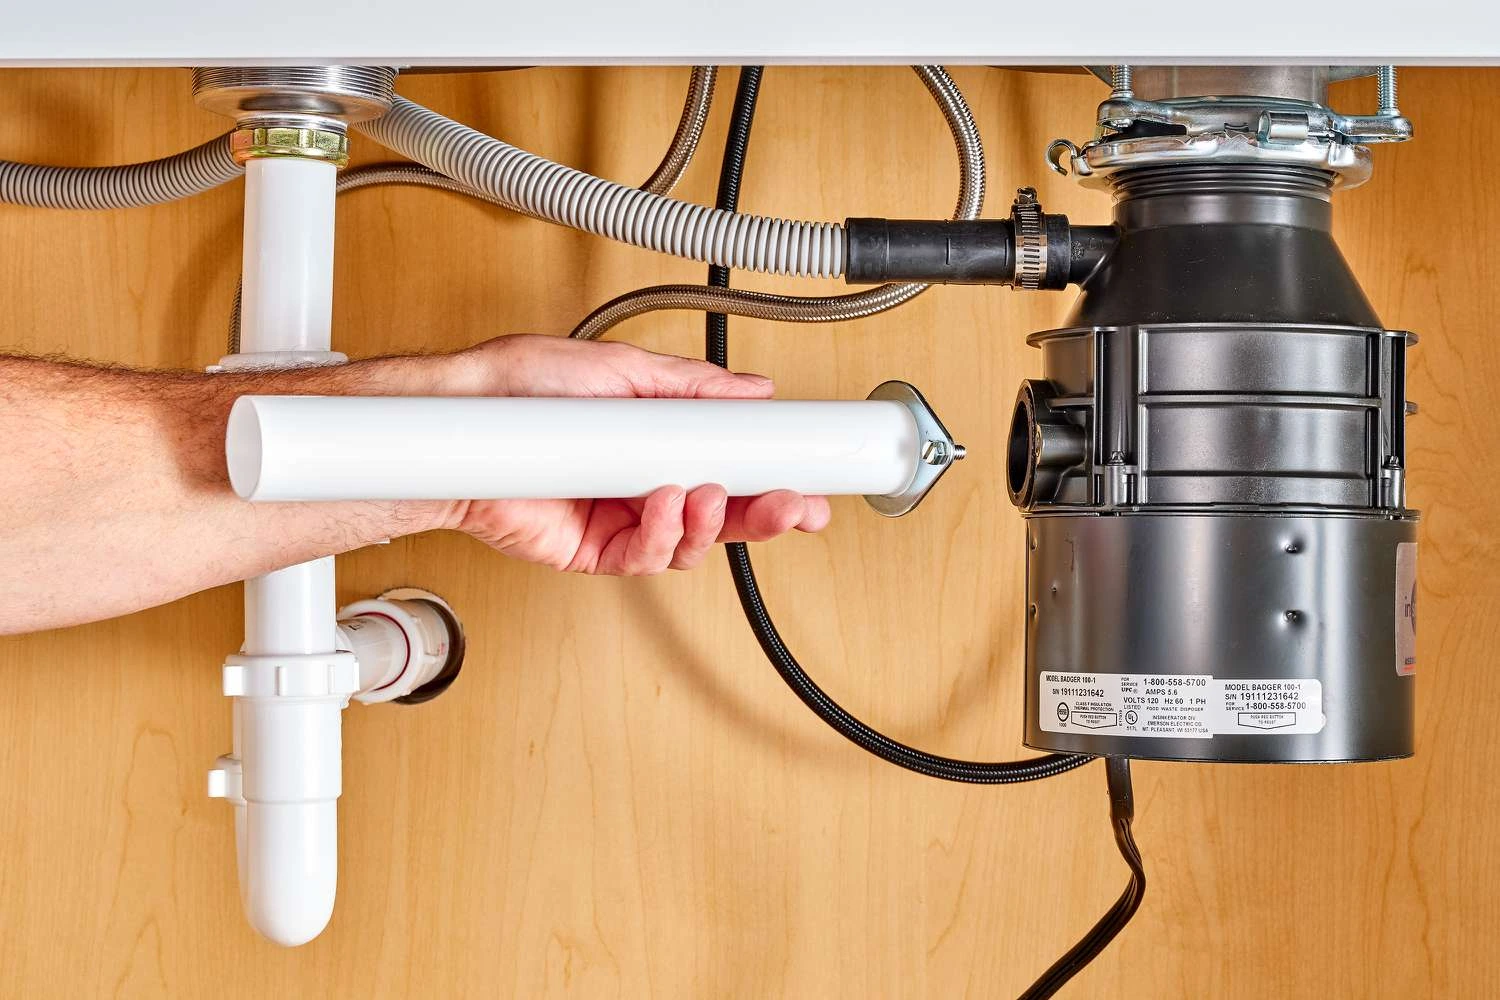
Next, apply plumber’s putty around the sink flange and press it firmly into the drain. Then, assemble the mounting bracket beneath the sink by tightening the screws until the flange is securely fastened. Proper assembly ensures that the garbage disposal installation is stable and prevents leaks.
Step 3: Connect the Disposal Unit
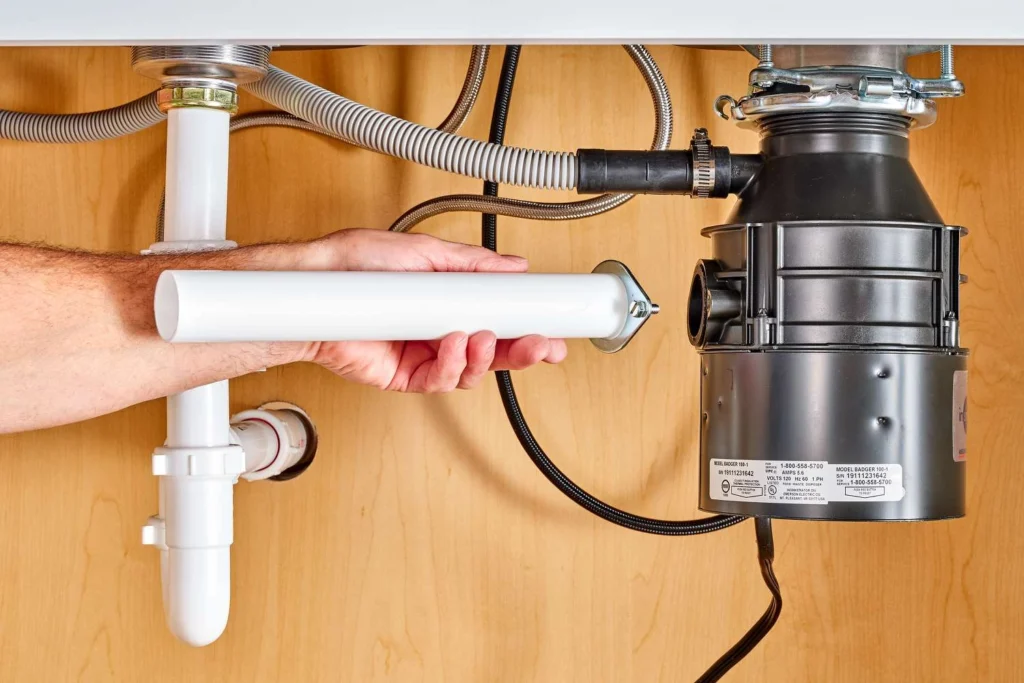
Now, it’s time to attach the garbage disposal unit. Lift the unit into place and twist it into the mounting assembly until it locks securely. Make sure that the unit is properly aligned for optimal performance and to avoid unnecessary vibrations during use.
Step 4: Wire the Disposal
If your disposal unit lacks a power cord, you’ll need to wire it. Match the black and white wires from the disposal to the corresponding wires in your home’s electrical system. If you’re uncomfortable with electrical work, it’s advisable to seek professional garbage disposal installation services for this step.
Step 5: Test the Installation
Once the wiring is complete, it’s time to test the system. Run water through the sink and turn on the disposal to ensure everything is functioning correctly. Make sure there are no leaks or electrical issues, and that the disposal operates smoothly.
| Step | Task Description |
| 1 | Turn off power, remove old disposal |
| 2 | Install mounting assembly and secure the flange |
| 3 | Attach and lock in the new garbage disposal unit |
| 4 | Wire or connect the electrical components of the disposal |
| 5 | Run water and test for leaks and proper functionality |
This step-by-step guide simplifies the DIY garbage disposal installation process, making it accessible for even novice DIY.
When to Hire Professional Garbage Disposal Installation Services
While many people prefer to tackle a DIY garbage disposal installation, certain scenarios call for a professional touch. If your home’s plumbing system is outdated or your electrical setup is complex, professional garbage disposal installation is a safer and more efficient option. Professionals can also handle unforeseen challenges that might arise during the installation, ensuring everything complies with local building codes.
Additionally, hiring experts can prevent costly mistakes that may arise from improper wiring or misaligned plumbing connections.
Common Errors to Avoid During Installation
Whether you’re handling the installation yourself or overseeing a professional, avoiding common mistakes can help you save time and money. Some of the most frequent issues in garbage disposal installation include:
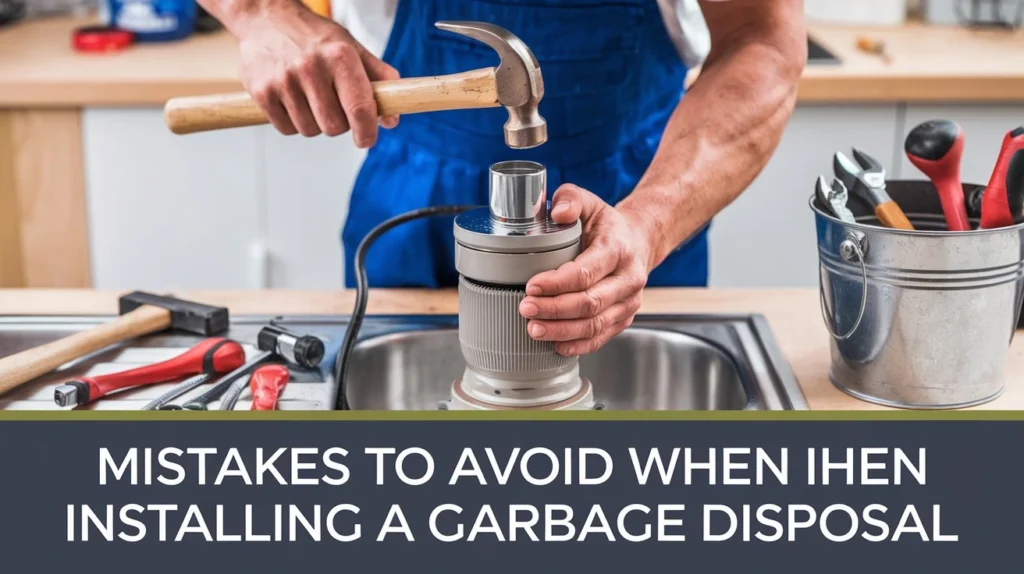
- Improper Mounting: Failure to securely mount the disposal unit can lead to leaks and loud vibrations during use. Make sure all screws and brackets are tightened properly.
- Skipping Plumber’s Putty: Neglecting this step can result in water seeping into the unit, causing damage over time.
- Wiring Issues: Incorrect wiring can lead to electrical faults, tripping breakers, or even fire hazards. If you’re unsure, consider professional help for the electrical connections.
Preventing these errors during your DIY garbage disposal installation ensures a longer lifespan for your disposal unit and avoids costly repairs down the road.
Costs of Garbage Disposal Installation: DIY vs. Professional Services
One of the primary considerations for homeowners is cost. DIY garbage disposal installation typically involves only the price of the unit and necessary tools, making it a budget-friendly option. On the other hand, professional garbage disposal installation comes with additional labor costs but provides peace of mind, especially if the job involves complicated plumbing or electrical work. Below is a comparison of the potential costs:
| Type of Installation | Cost Range |
| DIY Garbage Disposal Installation | $100 – $200 (tools & unit) |
| Professional Installation | $200 – $500 (labor & unit) |
If you’re comfortable handling the tools and tasks, a DIY garbage disposal installation can save you a significant amount of money. However, if you’re uncertain about any step, professional help is worth the investment.
Post-Installation Maintenance for Long-Lasting Performance
Once your garbage disposal installation is complete, proper maintenance is key to ensuring long-term performance. Here are some essential tips:
- Run Cold Water During Use: Always run cold water when using the disposal to help push waste through the pipes and prevent clogs.
- Clean the Unit Regularly: Every month, run a mixture of ice cubes and dish soap through the disposal to keep the blades sharp and clean.
- Avoid Certain Foods: Fibrous vegetables like celery and starchy foods like potatoes can clog the system. Avoid disposing of these materials to keep your garbage disposal unit functioning smoothly.
These simple steps will help you avoid costly repairs and prolong the life of your kitchen sink disposal installation.
Conclusion
Deciding between a DIY garbage disposal installation and hiring a professional largely depends on your skill level and the complexity of your home’s plumbing and electrical systems. While a DIY installation can be both rewarding and cost-effective, a professional garbage disposal installation provides assurance and reliability, particularly for more intricate setups.
Whichever path you choose, following the steps outlined in this guide will ensure a successful and efficient garbage disposal installation.
By investing in a high-quality disposal unit and maintaining it well, you can enjoy the convenience of a cleaner kitchen for years to come

Elena Mohr is a dedicated home blogger who has been blogging for over six years. She covers everything home related. Elena also loves writing posts about her travels to Europe with her husband and two children.
