A damaged door jamb can affect both the security and appearance of your home. Whether it’s due to wear and tear, water damage, or an accidental impact, knowing how to repair a door jamb yourself can save money and restore functionality. In this guide, we’ll cover everything from identifying damage to using a door jamb repair kit and completing a smooth, professional fix.
Content
What Is a Door Jamb?
The door jamb is the vertical section of the door frame that supports the hinges and latch. It’s a crucial component for both door alignment and security. If this part of the frame becomes damaged, your door may not close correctly, stay secure, or offer protection against drafts and pests.
Signs You Need a Door Jamb Repair
Before learning how to repair, first check for damage. Common indicators include:
- Splits or cracks in the frame
- A sagging or misaligned door
- Gaps between the door and the frame
- Rotten wood at the bottom or side
- Difficulty latching or locking the door
Ignoring these signs can lead to further structural damage or even a security risk.
Tools & Materials Required
Before starting your door jamb repair, gather the following materials:
- Hammer and chisel
- Drill and screwdriver
- Wood glue or epoxy
- Sandpaper
- Replacement wood
- Door jamb patch or repair kit
- Paint, primer, and caulk
- Measuring tape
- Screws or nails
Tip: For faster repairs, especially on external doors, use a door jamb repair kit for efficient reinforcement and alignment.
How to Repair a Broken Door Jamb
1. Inspect and Assess the Damage
Start by carefully checking the extent of the damage. Small cracks or surface dents can be filled or patched. However, if the wood is rotten or split deeply, you’ll likely need to replace the door jamb section.
2. Remove the Door (If Needed)
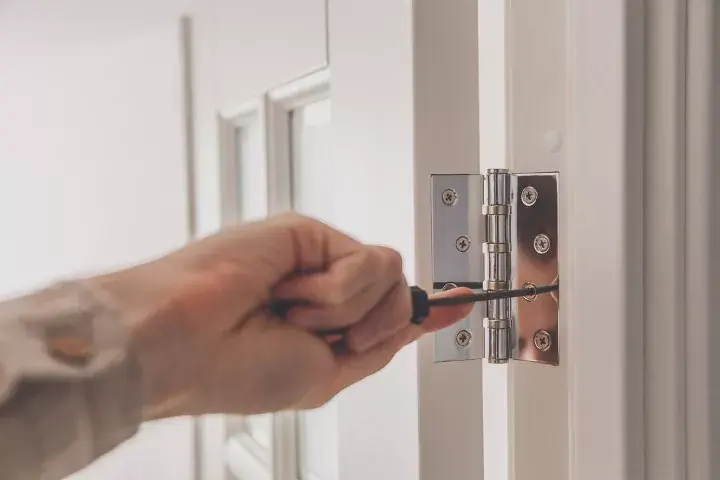
If the damage is extensive or located near the hinges or latch, remove the door. Use a screwdriver to detach it safely and set it aside.
3. Cut Out the Damaged Wood
Using a chisel or saw, remove the broken portion of the jamb. For door jamb wood rot repair, be sure to cut away all the decayed material, as it can spread over time.
4. Measure and Cut the Replacement Piece
Take accurate measurements of the removed section and cut a new piece of wood to match. Use durable, rot-resistant wood, especially for exterior door jamb repair.
5. Install the New Jamb Section
Apply wood glue and secure the replacement piece in place using screws or nails. For enhanced strength, consider using a metal door jamb reinforcement kit, especially in areas prone to break-ins or force.
6. Fill Gaps and Sand the Surface
Once the new piece is secured, use wood filler or epoxy to close any visible gaps. After drying, sand the area to ensure a smooth, level finish.
7. Paint and Seal the Area
Apply primer and paint or stain to match the rest of the door frame. Don’t forget to caulk around the edges to prevent moisture from seeping in and causing future rot.
How to Fix a Kicked-In Door Jamb
If your door was forced open, you’re dealing with more than cosmetic damage. To repair a door jamb after forced entry, follow these steps:
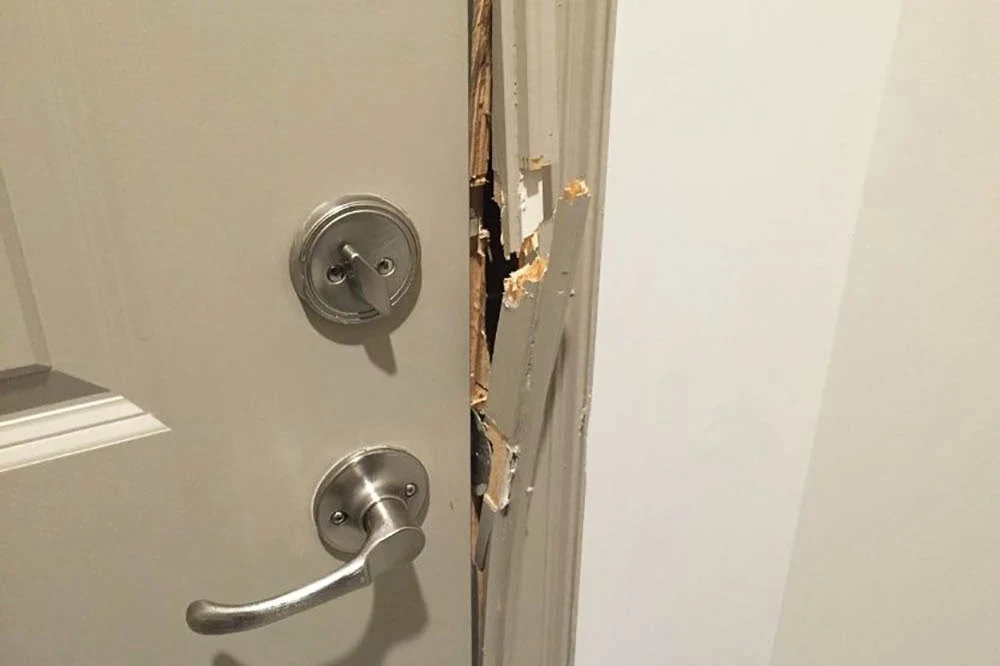
- Remove broken or split wood entirely
- Use a door jamb reinforcement kit to restore strength
- Install a heavy-duty strike plate
- Re-anchor the jamb with long, sturdy screws into wall studs
This method not only repairs the frame but improves your home’s security long-term.
Repairing Rotted Door Jamb Sections
Moisture is a common culprit for rotted door jambs. To fix it:
- Cut away all rotted material
- Replace with pressure-treated wood
- Seal all exposed surfaces with weather-resistant primer
- Repaint and add flashing to deflect future water intrusion
For wood rot repair, this proactive approach prevents mold and structural decay.
What’s the Cost to Repair a Door Jamb?
DIY repairs are budget-friendly. Here’s a breakdown:
- Wood filler or epoxy: $10–$20
- Replacement wood: $10–$30
- Door jamb repair kits: $25–$60
- Paint, primer, caulk: $20–$40
Hiring a professional can cost between $150–$400, depending on damage severity. Doing it yourself not only saves money but allows you to tailor the job to your specific needs.
Optional Upgrades for a Stronger Door Frame
After completing your door jamb repair, consider adding:
- Longer screws in hinges for better support
- Heavy-duty strike plates for improved lock security
- Weather stripping for better insulation
- Decorative door frame repair for aesthetics
These finishing touches increase longevity, boost curb appeal, and strengthen protection.
Conclusion: Fix It Right, Keep It Strong
A sturdy, intact door jamb plays a vital role in your home’s security, appearance, and functionality. Whether you’re dealing with split wood, water damage, or a kicked-in frame, learning how to fix it yourself empowers you to maintain your space affordably.
By using quality tools, taking accurate measurements, and following proper techniques, your door jamb repair will not only last — it will also look professionally done.
Don’t wait until the damage worsens. Start your repair today and restore confidence in your door’s performance.
FAQs About Door Jamb Repair
Can I fix a split door jamb without replacing it?
Yes. For minor splits, use wood glue and clamps, then fill and sand the surface before painting.
Is a door jamb the same as the door frame?
Not exactly. The door jamb is part of the frame, specifically the vertical sides. The full frame includes the jamb, head, and threshold.
How do I prevent future door jamb damage?
Regularly inspect for moisture, reinforce with strong hardware, and apply weatherproof paint or sealant.

Elena Mohr is a dedicated home blogger who has been blogging for over six years. She covers everything home related. Elena also loves writing posts about her travels to Europe with her husband and two children.

