When it comes to home exterior improvements, many homeowners overlook the importance of exterior door molding. These trims do more than add visual appeal—they create a protective barrier against the elements. From moisture resistance to insulation benefits, the right door trim ensures your entryway remains both stylish and functional.
I’ve worked with countless homeowners who underestimated door molding, only to face issues like warped frames, drafty interiors, and peeling paint. By choosing the correct door trim ideas and following proper installation techniques, you can save money and enhance your home’s charm.
Content
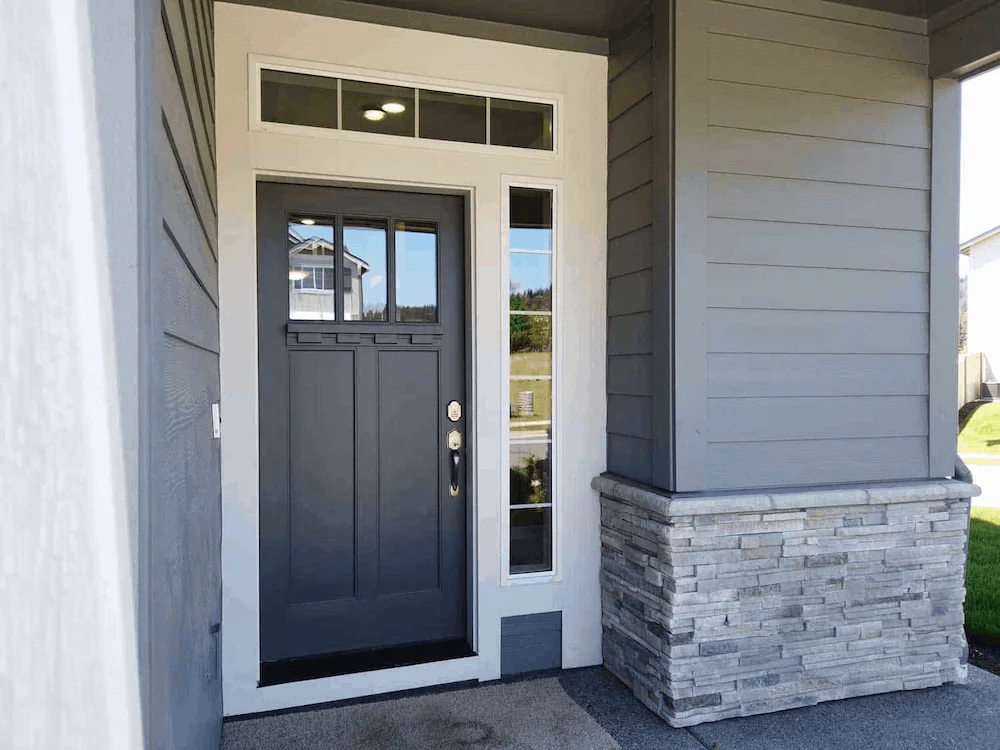
Understanding Exterior Door Molding: Styles and Materials
1. Styles of Door Molding
Door molding comes in a variety of styles, each catering to different architectural aesthetics:
- Modern exterior door trims: Clean lines, minimalistic designs, perfect for contemporary homes.
- Classic door frame accents: Features ornate detailing and curves, ideal for traditional houses.
- Decorative door casing: Adds character with layered profiles or unique patterns.
Choosing a style depends on your home’s architecture and personal taste. For example, a Victorian-style house pairs beautifully with intricate casing, while a modern build looks best with sleek, unembellished trims.
2. Materials Used in Door Molding
- Wood: Offers natural warmth and can be painted or stained. Durable when sealed correctly but requires maintenance.
- PVC or Composite Materials: Resistant to moisture, rot, and insects. Low-maintenance and often more affordable.
- Metal: Used occasionally for ultra-modern homes; highly durable but less customizable.
Selecting the right material is crucial, especially in areas with high humidity or rainfall.
Step-by-Step Guide to Installing Exterior Door Molding
Here’s a practical approach to replacing or installing exterior door molding:
Step 1: Remove Old Molding
Begin by carefully prying off old trims using a flat bar. Watch for nails and avoid damaging the surrounding siding. Removing damaged molding prevents future moisture and structural issues.
Step 2: Prepare the Door Frame
Inspect the frame for rot, cracks, or insect damage. Sand uneven surfaces and fill gaps with exterior-grade caulk. This ensures your front door molding designs will fit perfectly and stay durable.
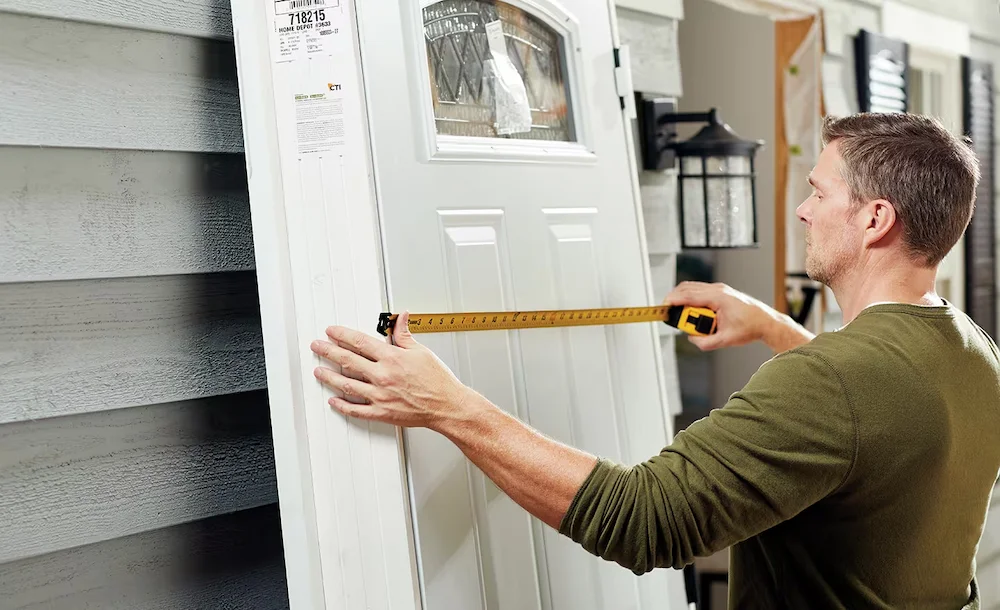
Step 3: Measure and Cut New Molding
Measure each side of your door frame accurately. Cut trims using a miter saw to achieve clean corners and perfect alignment. Using high-quality cuts makes installation easier and ensures a professional finish.
Step 4: Install and Secure the Molding
Use finishing nails or screws to attach the molding. Ensure it’s level and flush with the door frame. Seal edges with exterior-grade caulk to prevent moisture infiltration.
Step 5: Paint or Finish
Once installed, prime and paint your molding, or apply a protective stain. This final step not only enhances aesthetics but also prolongs the life of your exterior door frame styles.
Real-Life Case Study: Transforming a Weathered Entryway
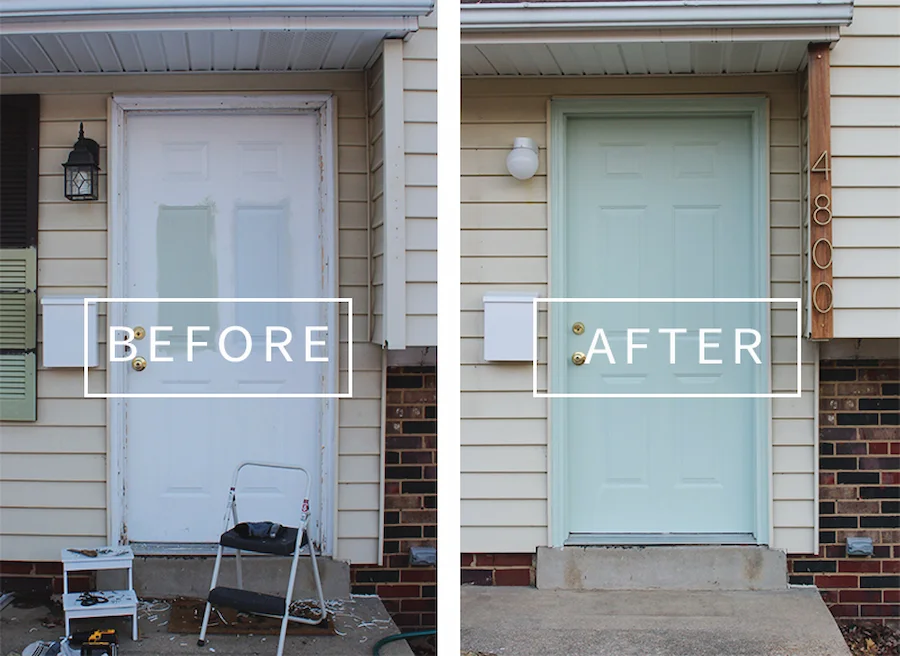
Last year, I assisted a homeowner in Chicago whose front door molding was severely damaged by winter moisture. Their home had a classic design, so we opted for wooden door casing with intricate detailing.
We replaced the molding following the steps above, used a weather-resistant primer and paint, and added a subtle decorative top trim. The result? A dramatic curb appeal improvement, no more drafts, and a durable finish that will last for years. The homeowner reported feeling proud every time they opened the front door—a testament to the power of decorative door casing done right.
Maintenance Tips for Long-Lasting Exterior Door Molding
- Regular Cleaning: Dust and wash trims annually to prevent dirt buildup.
- Inspect for Damage: Check for cracks, peeling paint, or moisture infiltration.
- Repainting or Staining: Apply a fresh coat every few years to maintain protection.
- Seal Gaps: Use exterior-grade caulk to seal any gaps between the molding and wall.
Following these tips ensures your door molding installation remains functional and beautiful over time.
Choosing the Right Door Trim for Your Home
When selecting door trim ideas, consider:
- Architectural Style: Modern vs. traditional homes require different molding designs.
- Material Durability: Wood, PVC, or metal depending on climate and maintenance preference.
- Aesthetic Preferences: Ornate, decorative, or minimalistic design.
By combining style, material, and proper installation, your home will enjoy both beauty and functionality.
Conclusion
Exterior door molding is a small detail with a big impact. It enhances your home’s curb appeal, protects the door frame, and prevents costly repairs. By choosing the right style, material, and following professional installation techniques, you can achieve a polished and durable entryway. Whether you opt for modern trims or classic decorative casing, proper care ensures your door molding continues to impress for years.
FAQs
What is the purpose of exterior door molding?
Exterior door molding adds curb appeal, protects frames from moisture, and prevents drafts.
Which material is best for exterior door molding?
PVC molding is moisture-resistant and low-maintenance, while wood offers a classic look but needs more care.
Can you paint exterior door molding?
Yes, exterior door molding can be painted or stained to match your home’s style and protect against weather damage.
How long does exterior door molding last?
Properly installed and maintained molding can last 10–20 years, depending on material and climate.

Elena Mohr is a dedicated home blogger who has been blogging for over six years. She covers everything home related. Elena also loves writing posts about her travels to Europe with her husband and two children.
![Why Spray Foam Insulation Vaughan Homes Need: An Expert Guide [2025] Spray Foam Insulation](https://starthomeimprovement.com/wp-content/uploads/2025/09/image-150x150.png)
