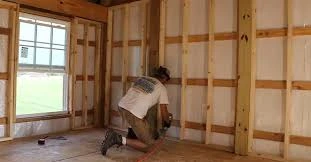
Fur out a wall involves attaching furring strips to an existing wall to create a level surface for insulation or drywall, improving energy efficiency and aesthetics. This technique is especially beneficial in older structures where the walls may be uneven or lack adequate insulation. This article provides an in-depth look at the process of furring out walls, detailing its advantages, the necessary tools, and a clear methodology to achieve optimal results.
Content
Understanding Fur Out a Wall
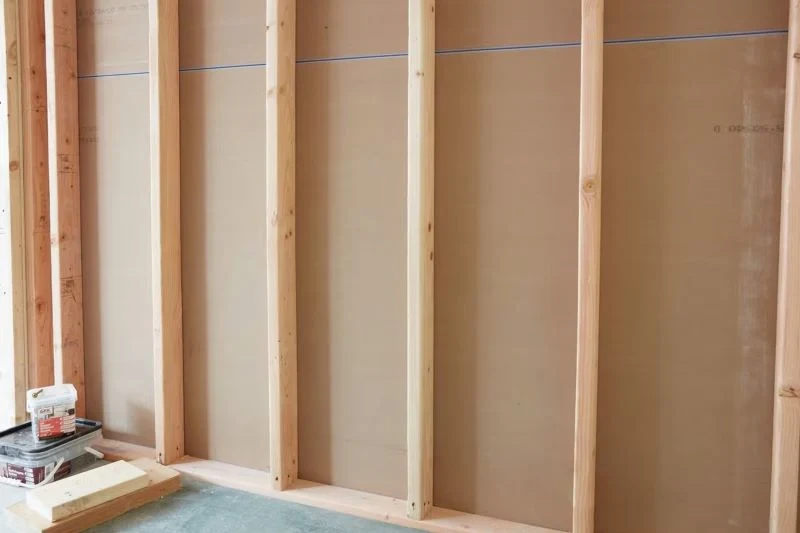
Wall furring is defined as the installation of thin strips of wood or metal—referred to as furring strips—onto a wall’s surface. This procedure establishes a framework to which insulation and drywall can be securely affixed. Utilizing furring is particularly crucial in situations where the existing wall surface is not flat or when additional insulation is warranted.
Benefits of Fur Out a Wall
Implementing furring out a wall presents numerous advantages:
| Benefit | Description |
|---|---|
| Enhanced insulation | Improves thermal efficiency by allowing insulation to be incorporated. |
| Aesthetic improvement | Provides a smooth and even surface for drywall application. |
| Facilitates electrical modifications | Simplifies the process of installing electrical wiring and fixtures. |
Incorporating furring strips significantly enhances energy efficiency and overall comfort within a home.
Preparing for Fur Out a Wall
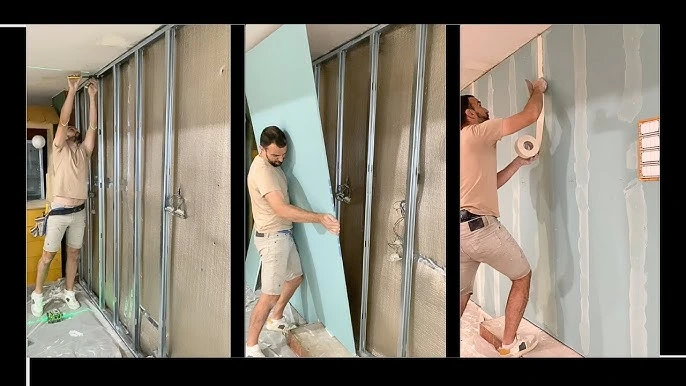
Tools and Materials Required
Before commencing your project, it is essential to assemble all necessary tools and materials. The following table outlines the critical components needed for a successful furring out a wall endeavor:
| Tool/Material | Purpose |
|---|---|
| Tape measure | For precise measurements. |
| Level | Ensures furring strips are installed correctly. |
| Saw (hand or power) | Used for cutting furring strips to the required lengths. |
| Drill and screws | For securing furring strips to the wall. |
| Furring strips | Provides the structural framework for insulation and drywall. |
| Insulation material | Enhances energy efficiency. |
Assessing Wall Condition
Prior to fur out a wall, evaluating the condition of the existing surface is vital. Inspect for any signs of moisture damage, cracks, or irregularities. This evaluation will help determine whether furring is necessary and which materials are best suited for the project. Key considerations during this assessment include assessing wall condition and when to fur out a wall.
Methodology for Fur Out a Wall
Step 1: Assemble Tools and Materials
Ensure that all required tools and materials are readily available to facilitate a smooth installation process.
Step 2: Measure and Mark
Accurate measurements are crucial for a successful installation. Use a tape measure to ascertain where the furring strips will be positioned, typically spaced 16 inches apart. Mark these positions clearly on the wall to guide the installation process.
Step 3: Cut and Install Furring Strips
- Cut the furring strips to the appropriate lengths using a saw.
- Secure the furring strips to the wall with a drill and screws, ensuring they are level and firmly attached.
- Safety Reminder: Always wear safety goggles when cutting or drilling to protect your eyes.
Step 4: Insulate and Finalize
Once the furring strips are securely affixed, insert your chosen insulation material between them. This addition provides the necessary thermal resistance. After the insulation is in place, drywall can be installed over the furring strips, resulting in a smooth, finished wall surface.
Common Pitfalls to Avoid
Even seasoned DIY enthusiasts may encounter challenges during a furring out a wall project. Awareness of potential pitfalls can lead to a more successful outcome:
- Inaccurate Measurements: Always double-check your measurements to ensure a uniform installation.
- Overlooking Insulation: Failing to incorporate insulation will diminish energy efficiency.
- Insufficient Fastening: Use an adequate number of screws to secure the furring strips and prevent sagging over time.
Conclusion
Furring out walls is a practical method for enhancing insulation and providing a smooth surface for drywall installation. By following the comprehensive steps provided in this guide and being mindful of common mistakes, you can effectively increase your home’s energy efficiency and aesthetic appeal. For further questions or to share your experiences, feel free to leave a comment below. Best of luck with your DIY project!
Frequently Asked Questions (FAQs)
Is it possible to fur out a wall myself?
Yes, furring out a wall is a feasible DIY project that can be executed with basic tools and materials. Adhering to the outlined steps will guide you through the process effectively.
What type of insulation is most suitable for use with furring strips?
Common insulation options include fiberglass batts and foam boards, both of which are effective depending on your climate and energy efficiency goals.
What is the cost associated with furring out a wall?
The expenses related to furring out a wall can vary based on the materials chosen and the size of the area being worked on, but generally, it ranges from $1 to $3 per square foot for materials alone.

Elena Mohr is a dedicated home blogger who has been blogging for over six years. She covers everything home related. Elena also loves writing posts about her travels to Europe with her husband and two children.
