Installing vinyl siding can significantly enhance both the appearance and energy efficiency of your home. If you’re wondering how to install vinyl siding effectively, this guide provides a detailed overview of the entire process, from preparation to completion. By following these steps, you can achieve a successful installation, whether you choose to handle the project yourself or hire a professional.

Content
Understanding How to Install Vinyl Siding
Vinyl siding is a popular choice due to its durability, low maintenance requirements, and wide range of styles. It comes in various designs and colors, allowing homeowners to tailor the look of their property.
Types of Vinyl Siding:
- Clapboard: Features traditional horizontal boards.
- Dutch Lap: Characterized by a slight curve for added texture.
- Vertical Siding: Provides a sleek, modern appearance.
How to install vinyl siding installation steps may vary depending on the type selected. Choosing the right vinyl siding for your home and climate is crucial for optimal results.
Preparing for Installation
Preparation is key to a successful vinyl siding installation. This phase includes logistical planning and the physical readiness of your home.
- Essential Tools for Vinyl Siding Installation:
- Tape measure
- Utility knife
- Hammer or nail gun
- Level
- J-channel and trim components
- Cost Considerations:
- Material Costs: Varies based on the quality and type of vinyl siding.
- Labor Costs: Professional installation adds to the total expense.
- Additional Costs: Includes tools, preparation work, and possible repairs.
- Home Preparation:
- Measure your home’s exterior to determine the amount of siding needed.
- Select vinyl siding that aligns with your aesthetic preferences and budget.
- Assemble the necessary tools and materials for the project.
DIY Vinyl Siding Installation: A Step-by-Step Approach

Vinyl siding installation steps are straightforward but require careful attention to detail. Here is a detailed guide to assist you with a DIY project:
- Removing Existing Siding:
- Carefully remove old siding and inspect the underlying surface for damage.
- Preparing the Wall Surface:
- Ensure the wall is clean, dry, and in good condition.
- Install a moisture barrier if needed.
- Installing Insulation (if applicable):
- Apply insulation to enhance energy efficiency and provide a smooth surface for the siding.
- Placing the Starter Strip:
- Attach the starter strip along the bottom of the wall to support the first row of siding panels.
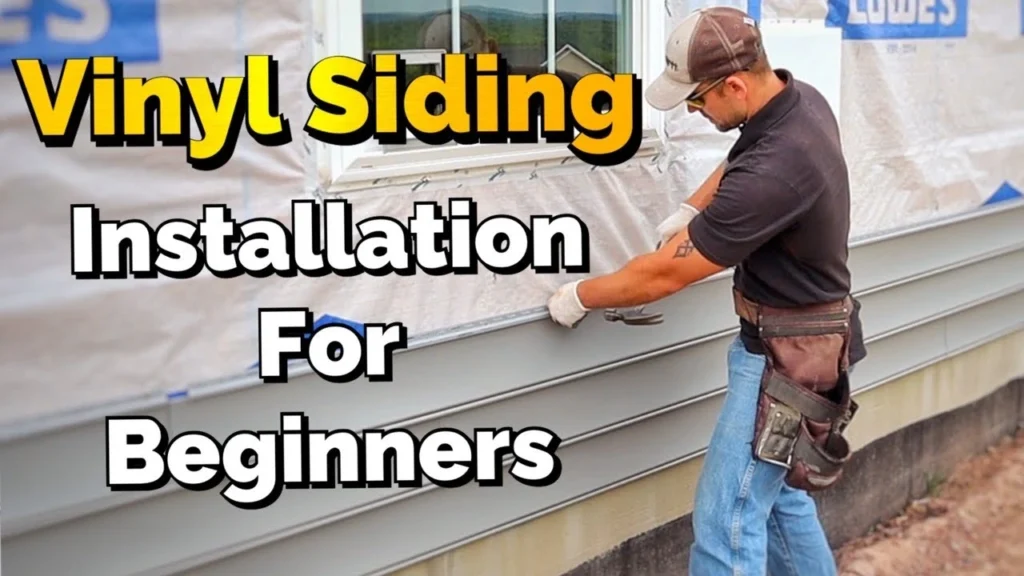
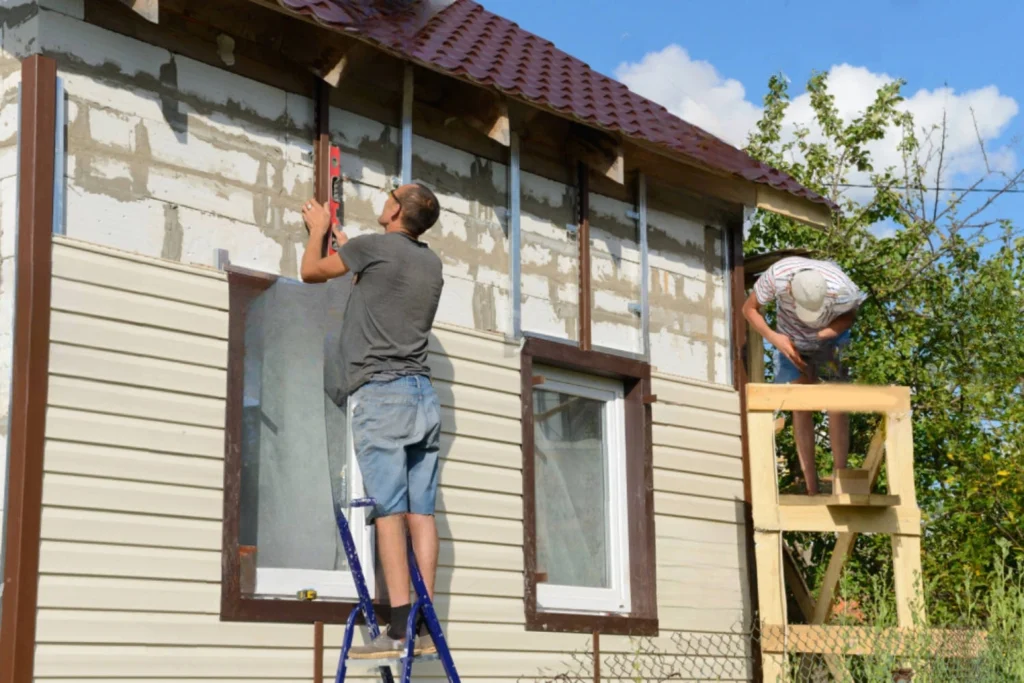
- Fitting the Vinyl Siding Panels:
- Begin installation from the bottom and progress upward.
- Vinyl siding installation tips:
- Overlap panels correctly to ensure proper sealing.
- Use a level to maintain straight rows.
- Applying Trim and Final Touches:
- Install J-channel around windows and doors.
- Fit corner posts and top trim for a polished finish.
- Common Pitfalls to Avoid:
- Misalignment of panels, leading to gaps.
- Over-driving nails or screws, which can damage the siding.
Professional Vinyl Siding Installation
Opting for professional vinyl siding installation services offers a high level of expertise and efficiency.
- When to Hire a Professional:
- For complex installations or repairs.
- If you lack the time or experience for a DIY project.
- Selecting a Contractor:
- Ensure they are licensed and insured.
- Check references and reviews to gauge their reliability.
- Comparing DIY and Professional Services:
- Professional services deliver expert results but at a higher cost.
- DIY installations require more time and skill but can be more cost-effective.
Maintenance and Care for Vinyl Siding
Proper maintenance ensures your vinyl siding remains in excellent condition and enhances its lifespan.
- Guidelines for Maintenance:
- Regularly clean the siding using mild soap and water.
- Inspect for damage or loose panels.
- Cleaning and Repairing Vinyl Siding:
- Use a soft brush or cloth to avoid scratching.
- Address minor damage with vinyl siding repair kits.
- Tips for Longevity:
- Ensure proper ventilation to prevent moisture buildup.
- Avoid harsh chemicals or abrasive cleaners.
Budgeting for Your Vinyl Siding Project

Understanding the costs involved helps in effectively budgeting for your siding installation project.
- Cost Breakdown:
| Cost Element | Estimated Range |
| Material Costs | $2 – $7 per square foot |
| Labor Costs | $1 – $3 per square foot |
| Additional Costs | Varies (e.g., tools, preparation) |
- Budgeting Tips:
- Obtain multiple quotes from contractors.
- Consider the cost implications of DIY versus professional installation.
Conclusion
Vinyl siding installation can greatly improve your home’s appearance and energy efficiency. Whether you opt for a DIY approach or professional assistance, following the right procedures and utilizing vinyl siding installation tips will ensure a successful project.
For further assistance or to connect with professionals, explore additional resources and feel free to reach out with any questions you may have.

Elena Mohr is a dedicated home blogger who has been blogging for over six years. She covers everything home related. Elena also loves writing posts about her travels to Europe with her husband and two children.


