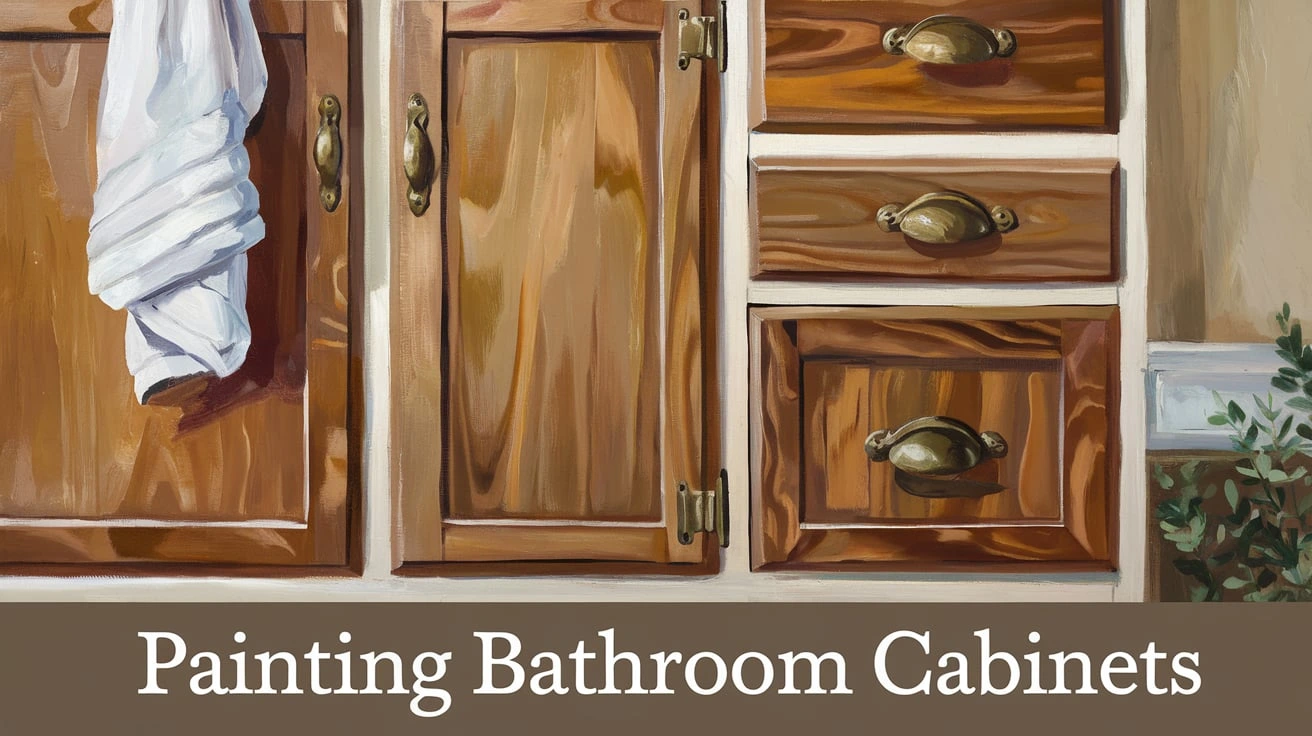
Transforming your bathroom with a fresh coat of paint on the cabinets can bring an instant facelift to the space, making it look brighter, modern, or entirely new. Here’s a comprehensive, step-by-step guide to painting bathroom cabinets, covering the necessary tools, techniques, and design inspiration to help you achieve a professional finish. This guide will ensure you choose the right materials, avoid common mistakes, and maintain a beautiful bathroom for years to come.
Yes, you can transform your bathroom by painting bathroom cabinets, making it an affordable and effective way to revitalize your space without the need for a full renovation.
Content
Essential Materials and Tools for a Successful Project
Preparation is key to ensuring a long-lasting and professional result when painting bathroom cabinets. Gathering the right materials can save time and ensure a smoother process. The selection of paint and tools is crucial, especially given the high-moisture environment of bathrooms.
- Choosing the Right Paint: Selecting the ideal paint for your bathroom cabinets involves considering durability and finish. Latex paint is popular due to its ease of application and fast drying, while oil-based paint offers better resistance to chipping and moisture. For a soft, matte look, chalk paint for bathroom cabinets is an excellent choice, but always seal it for extra durability. Opting for waterproof paint ensures longevity in a bathroom setting.
- Key Tools: To achieve a smooth finish, proper tools are necessary:
- High-quality brushes (angled and flat)
- Rollers for broader areas
- Sandpaper (120 and 220 grit for effective surface preparation)
- Painter’s tape to protect edges
- Drop cloths to maintain cleanliness
| Tool | Purpose |
|---|---|
| Sandpaper (120/220 grit) | Prepares the cabinet surface for priming |
| Primer | Enhances paint adhesion and durability |
| Paintbrushes & Rollers | Ensures even coverage on detailed and large areas |
| Painter’s Tape | Protects areas that shouldn’t be painted |
| Drop Cloths | Keeps the surrounding space clean during painting |
Step-by-Step Process for Painting Bathroom Cabinets
Painting bathroom cabinets involves several stages to ensure the best results. Follow these detailed steps to get a professional-looking finish:
- Surface Preparation: Start by removing the cabinet doors, drawers, and hardware. Thoroughly clean all surfaces to remove grease, dust, and dirt, ensuring the paint adheres properly. Consider using a degreasing cleaner for the best results.
- Tip: Don’t skip cleaning; it prevents peeling and ensures a lasting finish.
- Sanding and Priming: Sand all surfaces using 120-grit sandpaper for initial preparation. Follow up with 220-grit for a finer finish. Applying a high-quality primer is crucial; it enhances the paint’s adherence and provides a uniform base, minimizing potential paint failures.
- Tip: Choose a primer suitable for glossy surfaces if the cabinets have a slick or shiny finish.
| Common Preparation Mistakes | Recommended Solutions |
|---|---|
| Skipping primer | Always apply a primer for optimal adhesion |
| Ignoring surface cleaning | Use a degreaser to remove all contaminants |
| Sanding improperly | Ensure thorough sanding for better results |
- Painting Technique: When it comes to painting, proper technique matters. Choose your preferred cabinet paint colors based on your bathroom’s style—light tones for a bright, open feel, or dark shades for a more dramatic effect. Use angled brushes for detailed work and rollers for flat surfaces. Apply thin, even coats and let each layer dry fully before the next.
- Tip: Lightly sand between coats for a smoother finish.
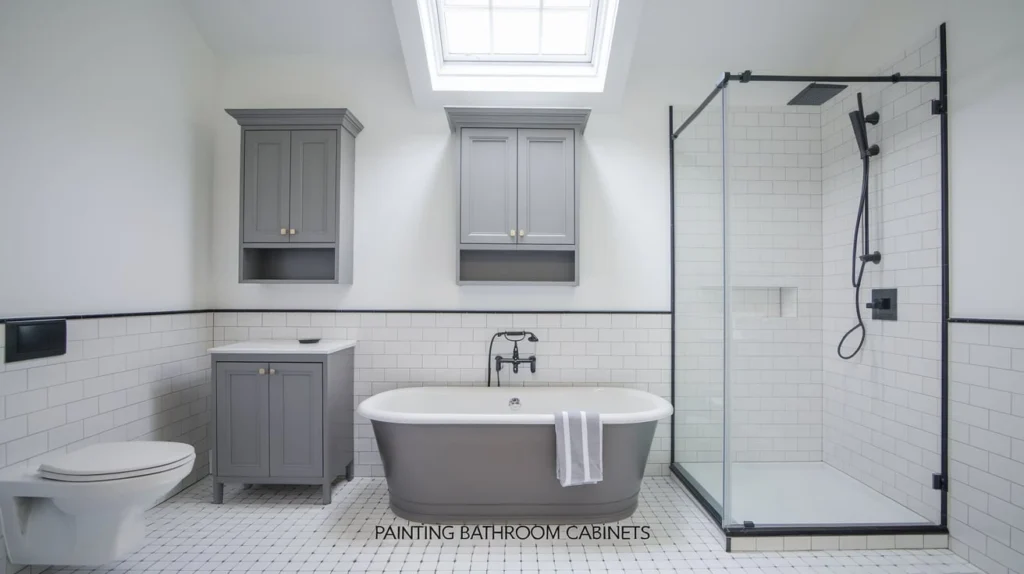
- Key Colors: Gray bathroom cabinet paint ideas and muted neutrals are trending for a modern bathroom style.
- Sealing for Durability: Once the paint is fully dry, sealing it is recommended to protect against moisture. Use a water-resistant polyurethane sealer for a protective layer. This prevents chipping and prolongs the finish.
- Tip: Choose a clear, matte, or satin sealer to match your desired look.
Design Inspiration and Style Tips for a Fresh Look
Updating bathroom cabinets involves not only practical steps but also aesthetic choices. Here are some design tips based on current trends:
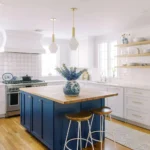
- Trending Colors: In 2024, the top cabinet paint colors for bathrooms include cool grays, soft whites, and deep blues. These shades are favored for their versatility and ability to complement various bathroom styles.
- Modern vs. Rustic Look: For a sleek, contemporary feel, opt for neutral shades like charcoal or navy. For a rustic look, distressed finishes using chalk paint can add a vintage charm. Consider using matte or satin finishes for a sophisticated look.
Preventing Common Mistakes When Painting Bathroom Cabinets
Even seasoned DIY enthusiasts can fall into common pitfalls when painting bathroom cabinets. Here’s how to avoid them:
- Choosing the Wrong Paint: Using unsuitable paint for a bathroom’s humid environment can cause peeling or bubbling. Always select waterproof paint for bathroom cabinets to withstand daily use and humidity.
- Skipping Proper Surface Preparation: Inadequate cleaning or sanding can lead to poor adhesion and a rough finish. Taking the time to prep the surface will make a noticeable difference in the outcome.
- Neglecting the Topcoat: Failing to seal the cabinets with a topcoat can leave them vulnerable to damage. Sealing is essential for protection against wear and moisture.
Maintenance Tips to Preserve Painted Bathroom Cabinets
After investing time and effort into painting, maintaining the look of your bathroom cabinets is essential:
- Regular Cleaning: Use a soft cloth and mild, non-abrasive cleaner to wipe down the cabinets. Avoid harsh chemicals that might damage the finish.
- Touch-Up Tips: Keep some leftover paint for touch-ups. Minor chips can be easily repaired with a small brush, restoring the cabinets to their original state.
Final Thoughts
Revamping your bathroom by painting the cabinets can be a rewarding DIY project, providing a fresh, stylish look without a hefty budget. From preparation to painting and sealing, each step contributes to achieving a professional finish that lasts. Experiment with different cabinet paint colors and techniques to reflect your unique style. Don’t hesitate to ask questions or share your own results to inspire others!
Frequently Asked Questions
A few common inquiries about bathroom cabinet painting include:
What is the best paint finish for bathroom cabinets?
A semi-gloss or satin finish is recommended due to its durability and ease of cleaning, making it ideal for a high-moisture environment like a bathroom.
Can you paint over old paint on bathroom cabinets?
Absolutely. However, proper surface preparation is necessary. Sanding and applying a primer will ensure the new paint adheres smoothly.

Elena Mohr is a dedicated home blogger who has been blogging for over six years. She covers everything home related. Elena also loves writing posts about her travels to Europe with her husband and two children.
