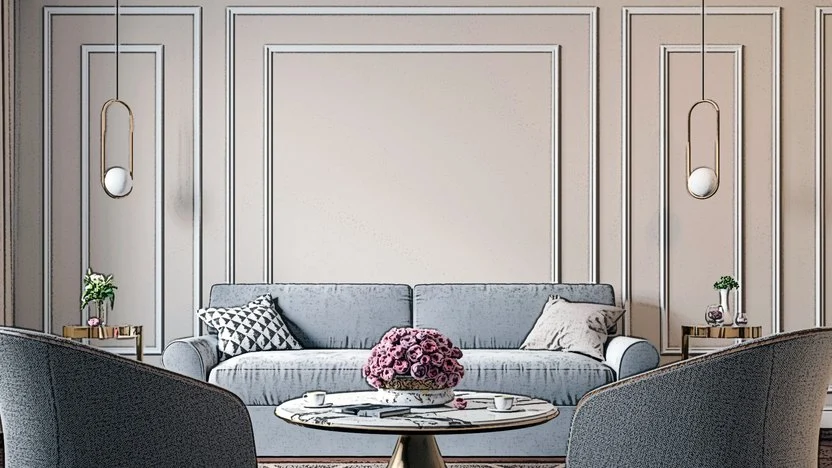
Adding decorative wall molding is a fantastic way to elevate the elegance of any room. Whether you want to create a classic wainscoting effect, a modern geometric design, or a traditional picture frame molding, this DIY project is achievable with the right tools and planning. In this guide, we’ll walk you through selecting materials, designing your layout, and installing DIY wall molding to transform your space.
Content
Picking a Molding Style
Before you start, decide on the look you want. Decorative wall molding comes in various styles, including:
- Picture frame molding – Adds a sophisticated, timeless feel.
- Wainscoting – Creates a structured, formal look, perfect for dining rooms.
- Geometric molding – A modern take on molding that adds unique visual interest.
- Chair rail molding – Protects walls from scuffs while adding charm.
Consider your room’s existing style and how the molding will complement it.
Materials & Supplies
To achieve a polished bathroom wall treatment or upgrade any room, gather the following materials:
- MDF or wood molding (pre-primed for easier painting)
- Measuring tape and level
- Pencil and painter’s tape (for marking layout)
- Saw (miter saw or hand saw with miter box)
- Wood glue and finishing nails
- Caulk and Spackle
- Sandpaper
- Primer and paint
Tools You’ll Need
- A miter saw or miter box for precise cuts
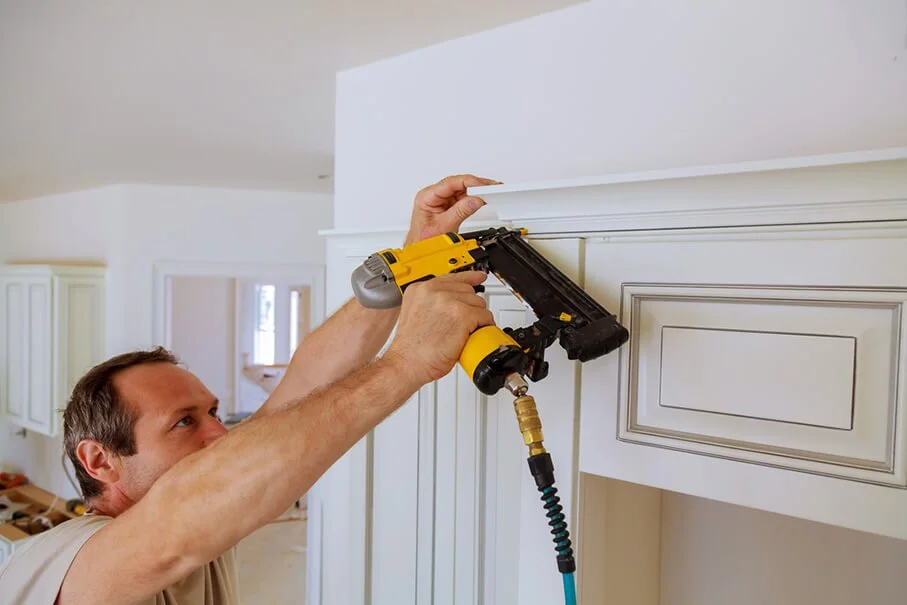
- A nail gun or hammer for securing molding
- A level and measuring tape for accuracy
- A paintbrush or roller for finishing touches
Planning Your Layout
Before installing decorative wall molding, take time to plan. Here’s how:
- Measure Your Walls – Determine the height and width of your space to calculate molding placement.
- Use Painter’s Tape – Tape outlines on the wall to visualize different styles.
- Mark Stud Locations – If using nails, securing molding to studs ensures stability.
- Balance Proportions – Ensure molding is evenly spaced and proportionate to the wall.
Installation Steps
Step 1: Cutting the Molding
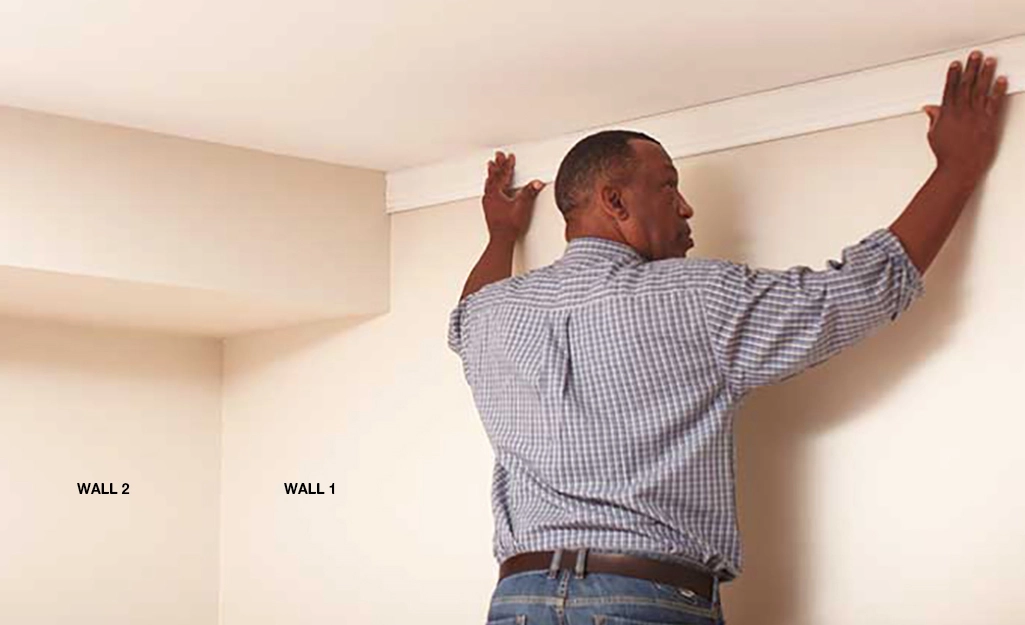
- Using a miter saw, cut the molding to your desired lengths.
- If creating frames or angles, make precise 45-degree cuts at the ends.
- Dry fit pieces to confirm accuracy before attaching them.
Step 2: Attaching the Molding
- Apply a thin bead of wood glue to the back of each piece.
- Secure the molding with a nail gun or finishing nails.
- Use a level frequently to keep pieces straight.
Step 3: Caulking & Painting
- Fill gaps and seams with caulk for a seamless look.
- Let the caulk dry before sanding any rough edges.
- Apply primer to help paint adhere better.
- Finish with two coats of paint to achieve a smooth, professional finish.
Cost Breakdown
The cost of DIY molding varies based on materials and room size. Here’s a rough estimate:
- MDF or wood molding: $1–$4 per linear foot
- Paint & primer: $30–$50
- Tools (if needed): $50–$200
- Miscellaneous supplies: $20–$40
For a standard 10×12 room, expect to spend $150–$500, depending on the complexity of your design.
Conclusion
Installing decorative wall molding is a rewarding DIY project that adds character and elegance to your home. Whether you’re upgrading your bathroom wall treatment or enhancing a living space, this project is budget-friendly and impactful. With the right tools, a bit of patience, and careful planning, you can transform any room with DIY wall molding that looks professionally installed. Ready to get started? Grab your materials and elevate your home today!
What type of molding is best for beginners?
MDF molding is budget-friendly and easy to cut, making it ideal for beginners.
Can I install decorative wall molding without nails?
Yes! Strong wood glue or adhesive can hold molding in place, especially for lightweight materials.
How do I prevent gaps between molding and the wall?
Use caulk to fill gaps and ensure a seamless, professional finish.

Elena Mohr is a dedicated home blogger who has been blogging for over six years. She covers everything home related. Elena also loves writing posts about her travels to Europe with her husband and two children.



![Why Spray Foam Insulation Vaughan Homes Need: An Expert Guide [2025] Spray Foam Insulation](https://starthomeimprovement.com/wp-content/uploads/2025/09/image-150x150.png)