Are you looking to enhance your home with a touch of rustic charm? Shiplap ceilings are an excellent way to transform your space, adding character and warmth to any room. Whether you’re a seasoned DIY enthusiast or a first-timer, this comprehensive guide provides essential insights on shiplap on ceiling ideas, installation techniques, maintenance tips, and design inspiration.

Content
Understanding shiplap on ceiling
Shiplap refers to a type of wooden board characterized by its unique overlapping joints, often used in exterior siding but increasingly favored in interior design. Originally utilized in maritime construction, shiplap on ceiling boards can infuse a space with a distinct aesthetic, ranging from modern sophistication to cozy farmhouse appeal. Common varieties of shiplap include tongue and groove shiplap and traditional styles, which differ primarily in their joining methods.
| Type of Shiplap | Description |
|---|---|
| Tongue and Groove | Boards interlock using a tongue-and-groove system, resulting in a seamless appearance. |
| Traditional | Boards overlap at the edges, offering a more rustic and textured look. |
Advantages of a shiplap on ceiling
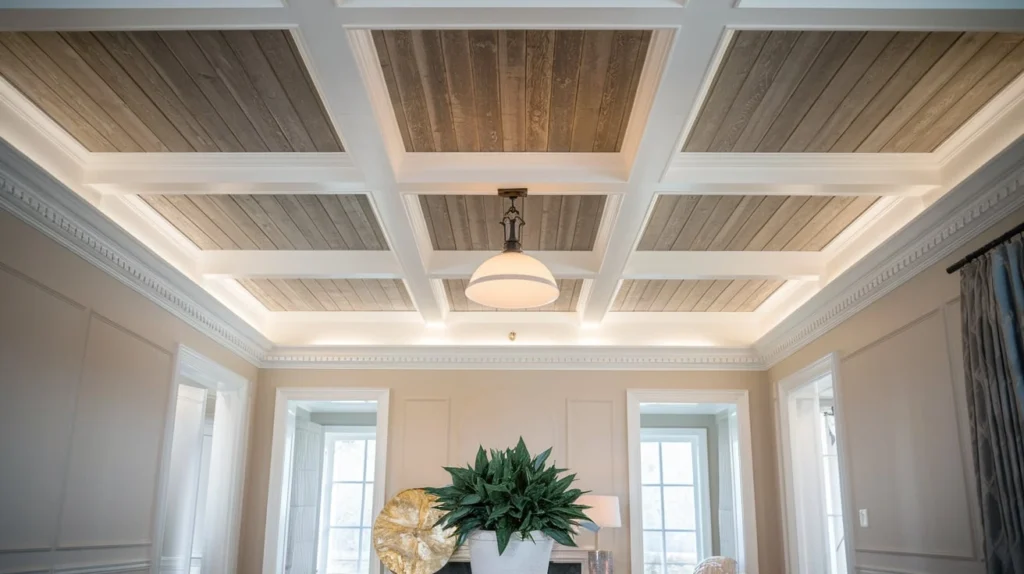
The allure of shiplap on ceiling extends well beyond aesthetics, providing numerous advantages:
- Visual Appeal: Shiplap adds depth and texture, making interiors feel cozier and more inviting.
- Versatility: Available in various wood types, finishes, and colors, shiplap can be tailored to complement any interior design scheme.
- Insulation: Wooden panels enhance temperature regulation, contributing to energy efficiency.
Additionally, there are countless options when it comes to choosing the best paint for shiplap ceiling, as the boards can be painted or stained to align perfectly with your decor.
Installing a shiplap on ceiling
Embarking on the journey of installing a shiplap on ceiling can be both fulfilling and straightforward. Here’s a detailed approach:
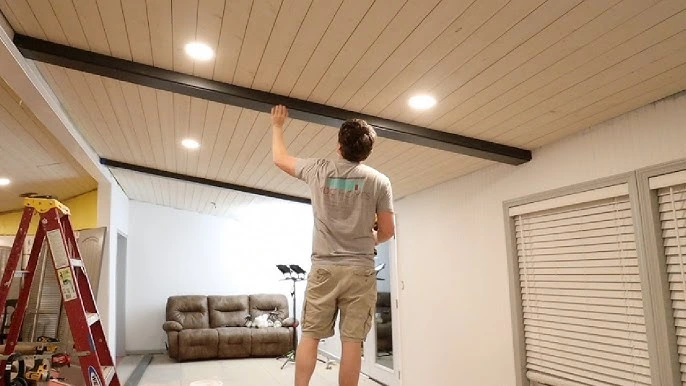
Preparation: Begin by gathering necessary materials, including shiplap boards, construction adhesive, nails, a nail gun, measuring tape, and a saw. Measure the area to determine how much material is required.
Cutting the Boards: Utilize a miter saw to cut boards to the appropriate lengths. It is advisable to cut the shiplap boards slightly shorter than the ceiling width to allow for expansion.
Installation: Choose your preferred installation method. You can attach shiplap directly to the ceiling or use furring strips to create a sturdy base. If opting for furring strips, position them perpendicular to the joists before securing the shiplap boards.
Finishing Touches: Once the installation is complete, sand the edges and apply the desired finish. Allow sufficient time for drying if painting or staining the boards.
| Installation Method | Description |
|---|---|
| Direct Attachment | Fastens shiplap boards directly to the ceiling, ideal for lightweight materials. |
| Furring Strips | Employs wooden strips to create a base for attaching boards, enhancing stability. |
Creative Design Ideas for Shiplap Ceilings
Customizing your shiplap ceiling can yield impressive results, tailored to reflect your personal style. Consider the following design concepts:
- Classic White Shiplap: This timeless option brightens spaces and pairs well with various decor styles.
- Vibrant Painted Options: Opt for unique colors like indigo or gray wash to introduce a modern twist.
- Two-Toned Shiplap: Combining different colors or finishes can create a playful, dynamic effect.
- Shiplap in Moisture-Prone Areas: Incorporating shiplap in bathrooms can create a spa-like ambiance, provided you use appropriate finishes.
Shiplap Ceiling Versus Wall Applications
While both shiplap ceilings and walls contribute to a home’s aesthetic, they present different visual impacts.
- Orientation Matters: Vertical boards can make a room appear taller, while horizontal boards create a sense of width.
- Functional Differences: Ceilings add visual interest from above, whereas walls provide a backdrop for furniture and decor.
Ensuring Longevity with Maintenance
To keep your shiplap ceiling in prime condition, regular maintenance is essential:
- Cleaning: Regularly dust the surface to prevent build-up and preserve its appearance.
- Addressing Repairs: Promptly fix any cracks or damages. Repainting or re-staining can refresh the overall look.
- Paint Maintenance: If painted, ensure to touch up areas as needed to maintain a cohesive appearance.
Conclusion
In conclusion, shiplap ceilings present a remarkable opportunity to add character and charm to your home. From installation techniques to maintenance strategies, this guide equips you with the knowledge necessary to create a stunning ceiling that elevates your living space. Whether you choose a classic white finish, bold colors, or a rustic wooden look, the design possibilities are boundless.

Elena Mohr is a dedicated home blogger who has been blogging for over six years. She covers everything home related. Elena also loves writing posts about her travels to Europe with her husband and two children.
